Effective Ways to Make Strawberry Jam at Home in 2025 – Discover Your Perfect Recipe
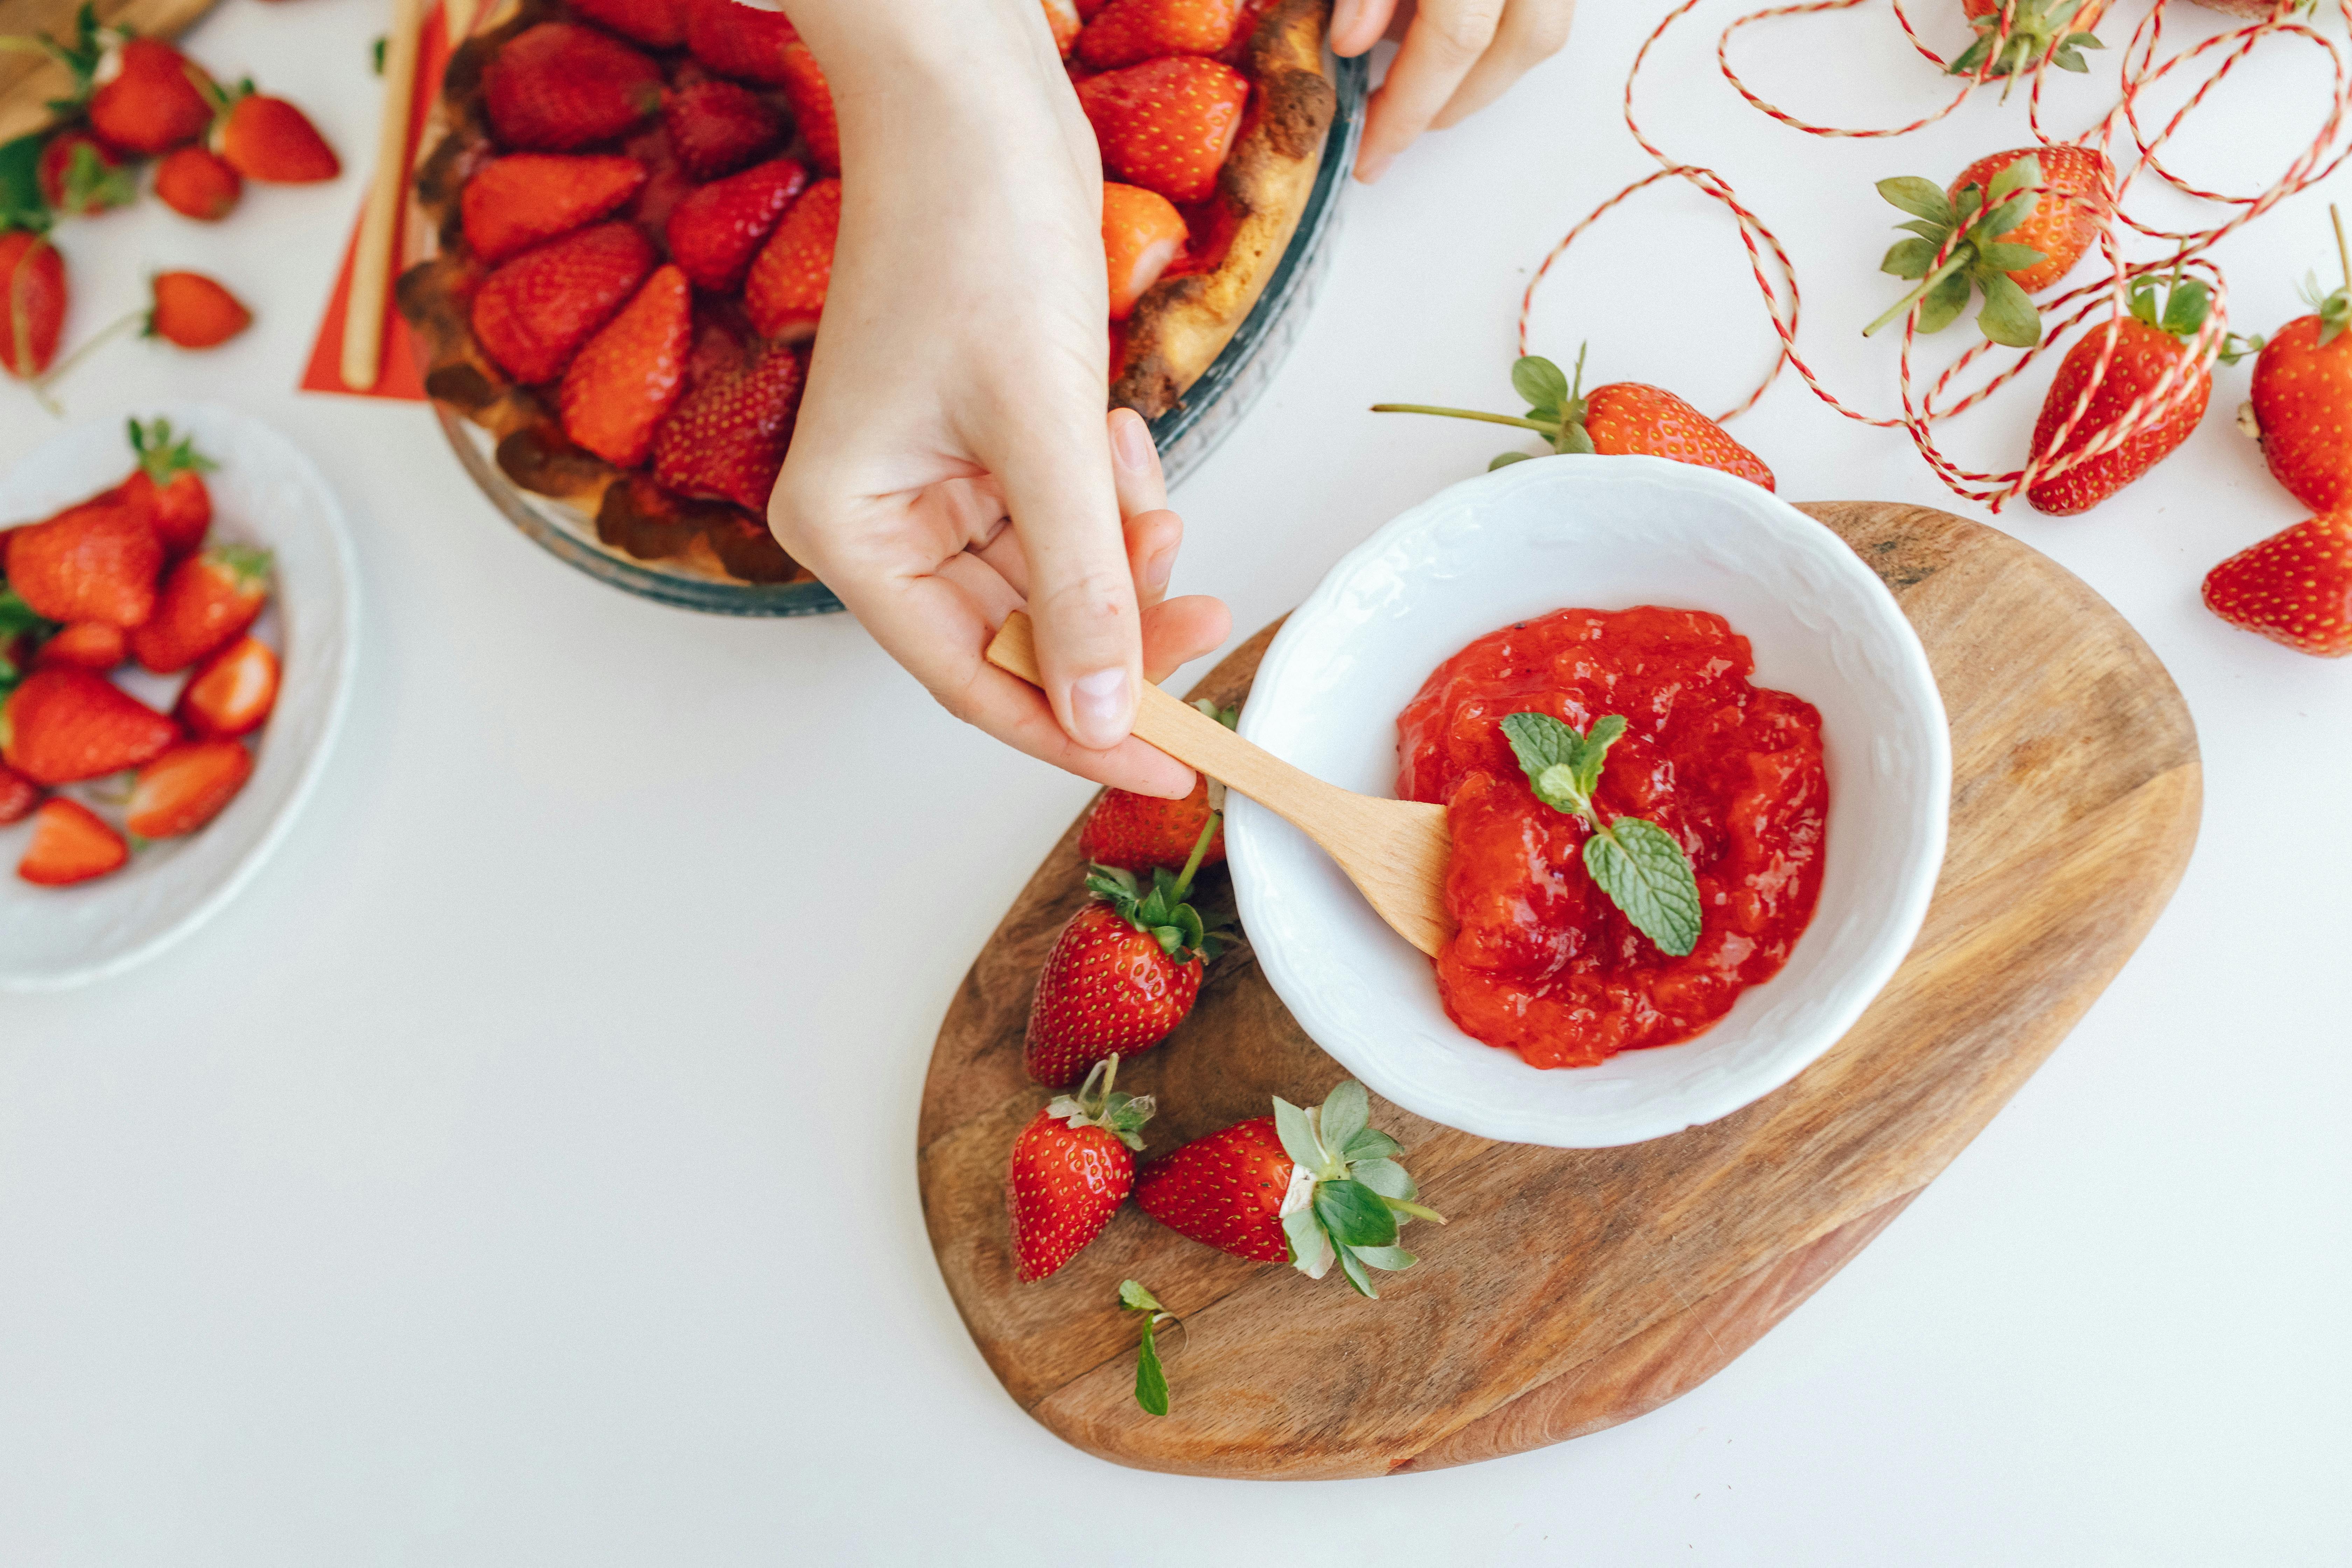
Strawberry jam is more than just a delicious spread; it’s a burst of summer encapsulated in a jar. Making homemade strawberry jam allows you to savor fresh strawberries long after their season has passed, and it’s surprisingly easy to achieve with the right techniques and ingredients. In this article, we’ll explore the essential components of a perfect strawberry jam recipe along with tips that ensure a jam full of flavor and the ideal consistency.
Strawberries offer a delightful sweetness that, when paired with sugar and skillful cooking, transforms into a delightful spread. By embracing the art of homemade preserves, you can experiment with different flavors and ingredients, adapting your jam to suit your taste. This guide will walk you through selecting the best strawberries, preparing fresh fruits, and mastering the canning process to create the quintessential strawberry jam.
We’ll discuss common pitfalls to avoid, how to adjust sweetness, the importance of pectin, and the various ways to enjoy your jam. Whether you’re looking for a small batch strawberry jam recipe or tips for preserving large quantities, we have you covered. Prepare to discover your perfect recipe for making strawberry jam in 2025!

Choosing the Best Strawberries for Jam
Selection is key when it comes to making the best strawberry jam. Fresh, ripe strawberries with vibrant color are ideal. Sweetness plays an essential role, so aim for strawberries that are naturally sweet. Engaging with local farms or farmer’s markets can lead you to find the freshest organic strawberries available. Look for berries that are slightly firm to the touch, as overripe berries may yield less flavor and a mushy texture.
In addition to sweetness, consider the variety of strawberries. Some varieties, like “Chandler” or “Seascape,” are especially suitable for jams due to their high sugar content and balanced acidity. These attributes help achieve the right flavor profile and jam consistency. Always remember to choose seasonal strawberries for the best taste and highest nutrient content, making your jam not just tasty but healthy as well.
After selecting your strawberries, the next step involves thorough washing and proper preparation. It’s crucial to remove any damaged or spoiled fruits to ensure a great final product. Now that you have your strawberries ready, let’s explore the essential ingredients for making the perfect strawberry jam.
Preparing Strawberries for Jam
Properly preparing your strawberries is crucial for achieving the best flavor and texture in your jam. Begin by rinsing your strawberries under cold running water, removing any dirt or pesticides. After washing, gently pat them dry with a clean cloth. The next step is to remove the green tops and any blemished parts of the fruit.
To effectively incorporate your strawberries into the jam, you can choose to slice them, mash them, or leave them whole, depending on your texture preference. For a smoother jam, consider smashing strawberries with a fork or potato masher until you achieve a fine consistency. Alternatively, you can pulse them briefly in a blender for a more uniform texture. It’s essential to note that how you prepare the strawberries can affect the final jam’s overall consistency—and also, the amount of sugar you might need to adjust based on their sweetness.
Mixing strawberries and sugar properly ensures that the natural sweetness of the fruit is enhanced without overpowering it. Allow the mixture to sit for about 30 minutes, which gives the strawberries time to release their juices. This step is fundamental in creating a natural syrup that forms the base of your jam.

Essential Ingredients for Homemade Strawberry Jam
A successful strawberry jam recipe consists of a few key ingredients. While the main ingredient is, of course, fresh strawberries, you’ll also need sugar for jam, which acts as a natural preservative and enhances sweetness. Understanding the sugar to fruit ratio is critical, as it not only affects sweetness but also the jam’s texture and preservation quality.
Pectin is another crucial component; it helps the jam set properly and achieve that perfect consistency. You can either use commercial pectin or explore making a no pectin jam, which relies more heavily on the natural pectin found in fruits. Including lemon juice can also enhance flavor and acidity, leading to a more well-rounded taste while ensuring proper preservation.
The Cooking Process for Strawberry Jam
The cooking phase is where the magic truly happens. Start by combining your prepared strawberries and sugar in a large pot. Stir well to dissolve the sugar completely before turning on the heat. A low heat setting is ideal at first; this will prevent sugar from burning while allowing the strawberries to release their juices gradually.
Once the mixture starts to simmer, increase the heat to medium-high and bring it to a full boil. It’s vital to stir continuously during this phase to prevent sticking and burning. Cooking time varies, but generally, after about 10-15 minutes, you will notice the jam thickening. To check for the right jam consistency, you can use the “plate test” method: place a small spoonful of jam on a chilled plate and tilt it to check if it holds together without running.
Once the desired consistency is achieved, remove the pot from the heat. This is your moment to infuse additional flavors or adjust the sweetness if needed, according to your taste. Be mindful that the jam will continue to thicken as it cools, so aim slightly thinner than your goal before letting it rest.
Canning Strawberry Jam: Safe Preservation Techniques
Learning the canning strawberry jam process is an essential skill for anyone interested in preserving fruits. Canning not only extends the shelf life of your jam but also allows you to enjoy your homemade strawberry spread throughout the year. Begin with sterilizing jars; this is crucial for food safety. Wash the jars in warm, soapy water and place them in a boiling water bath for at least 10 minutes, or you can run them through the dishwasher without detergent.
Once your jars are sterilized, fill them with the hot jam while leaving about ¼ inch of headspace at the top. This space is vital for creating a vacuum seal. Use a ladle for easy pour and ensure you swiftly seal the jars afterward. Wipe the rims clean immediately after filling, then place the sterilized lids securely on the jars, followed by securing them with bands until fingertip-tight.
Next, you can process your jars using a water bath canning method for about 10-15 minutes, depending on your altitude. This step ensures all air bubbles are removed, and a proper seal is achieved. Post-processing, let the jars cool completely on a clean towel or cooling rack, ensuring they are sealed correctly. Once cooled, store your jars in a cool, dark place, and you’ll be ready to enjoy your delicious strawberry jam for months to come!
Tips for Strawberry Jam Storage
Proper storage of strawberry jam is essential to maintain its flavor and texture. Once your homemade strawberry jam has cooled and sealed correctly, label jars with the date of preparation. This practice helps track freshness. Store them in a cool, dark place, ideally at room temperature, away from direct sunlight. An unopened jar can last up to a year, while opened jars should be refrigerated and consumed within 2 to 3 weeks.
For those looking to maximize their jam’s shelf life, consider using organic strawberries and practicing clean, safe canning techniques. Additionally, if you aim to make unique gifts from your kitchen, packaging your homemade jam in eco-friendly jars with creative labels can offer a personal touch that friends and family will love.
Exploring Strawberry Jam Variations
Once you’ve mastered the classic strawberry jam, the possibilities for variations are endless. Mixing different fruits to create strawberry preserves or adding herbs like basil or mint can infuse exciting flavors into your jam. For those looking for a gourmet twist, try incorporating spices like cinnamon or vanilla to elevate your homemade treats.
For a unique flavor profile, consider using mixtures of seasonal fruits or experimenting with different sugar substitutes like honey or maple syrup. These adaptations can enhance the natural sweetness while reducing the overall sugar content in your jam. Adjusting acidity with citrus juices can also guide towards a perfectly balanced flavor.
Common Challenges in Jam Making
Many first-time jam makers face various challenges that can affect the final product. A common issue is ending up with runny jam, often a result of insufficient cooking time or not enough pectin. To troubleshoot this, always check to see whether the jam is at the right consistency before bottling. If it seems too thin, returning it to the heat and adding pectin can help rectify the situation. Likewise, adjusting sugar levels can help achieve the desired sweetness while influencing the jam’s ability to set.
Another issue arises from jar sealing failures; this can usually be prevented by ensuring proper sterilization and correct processing times. If a jar doesn’t seal correctly, refrigerate it immediately and use it within a couple of weeks. Understanding these common pitfalls ensures a successful jam-making experience every time.
Delicious Strawberry Recipes for Enjoyment
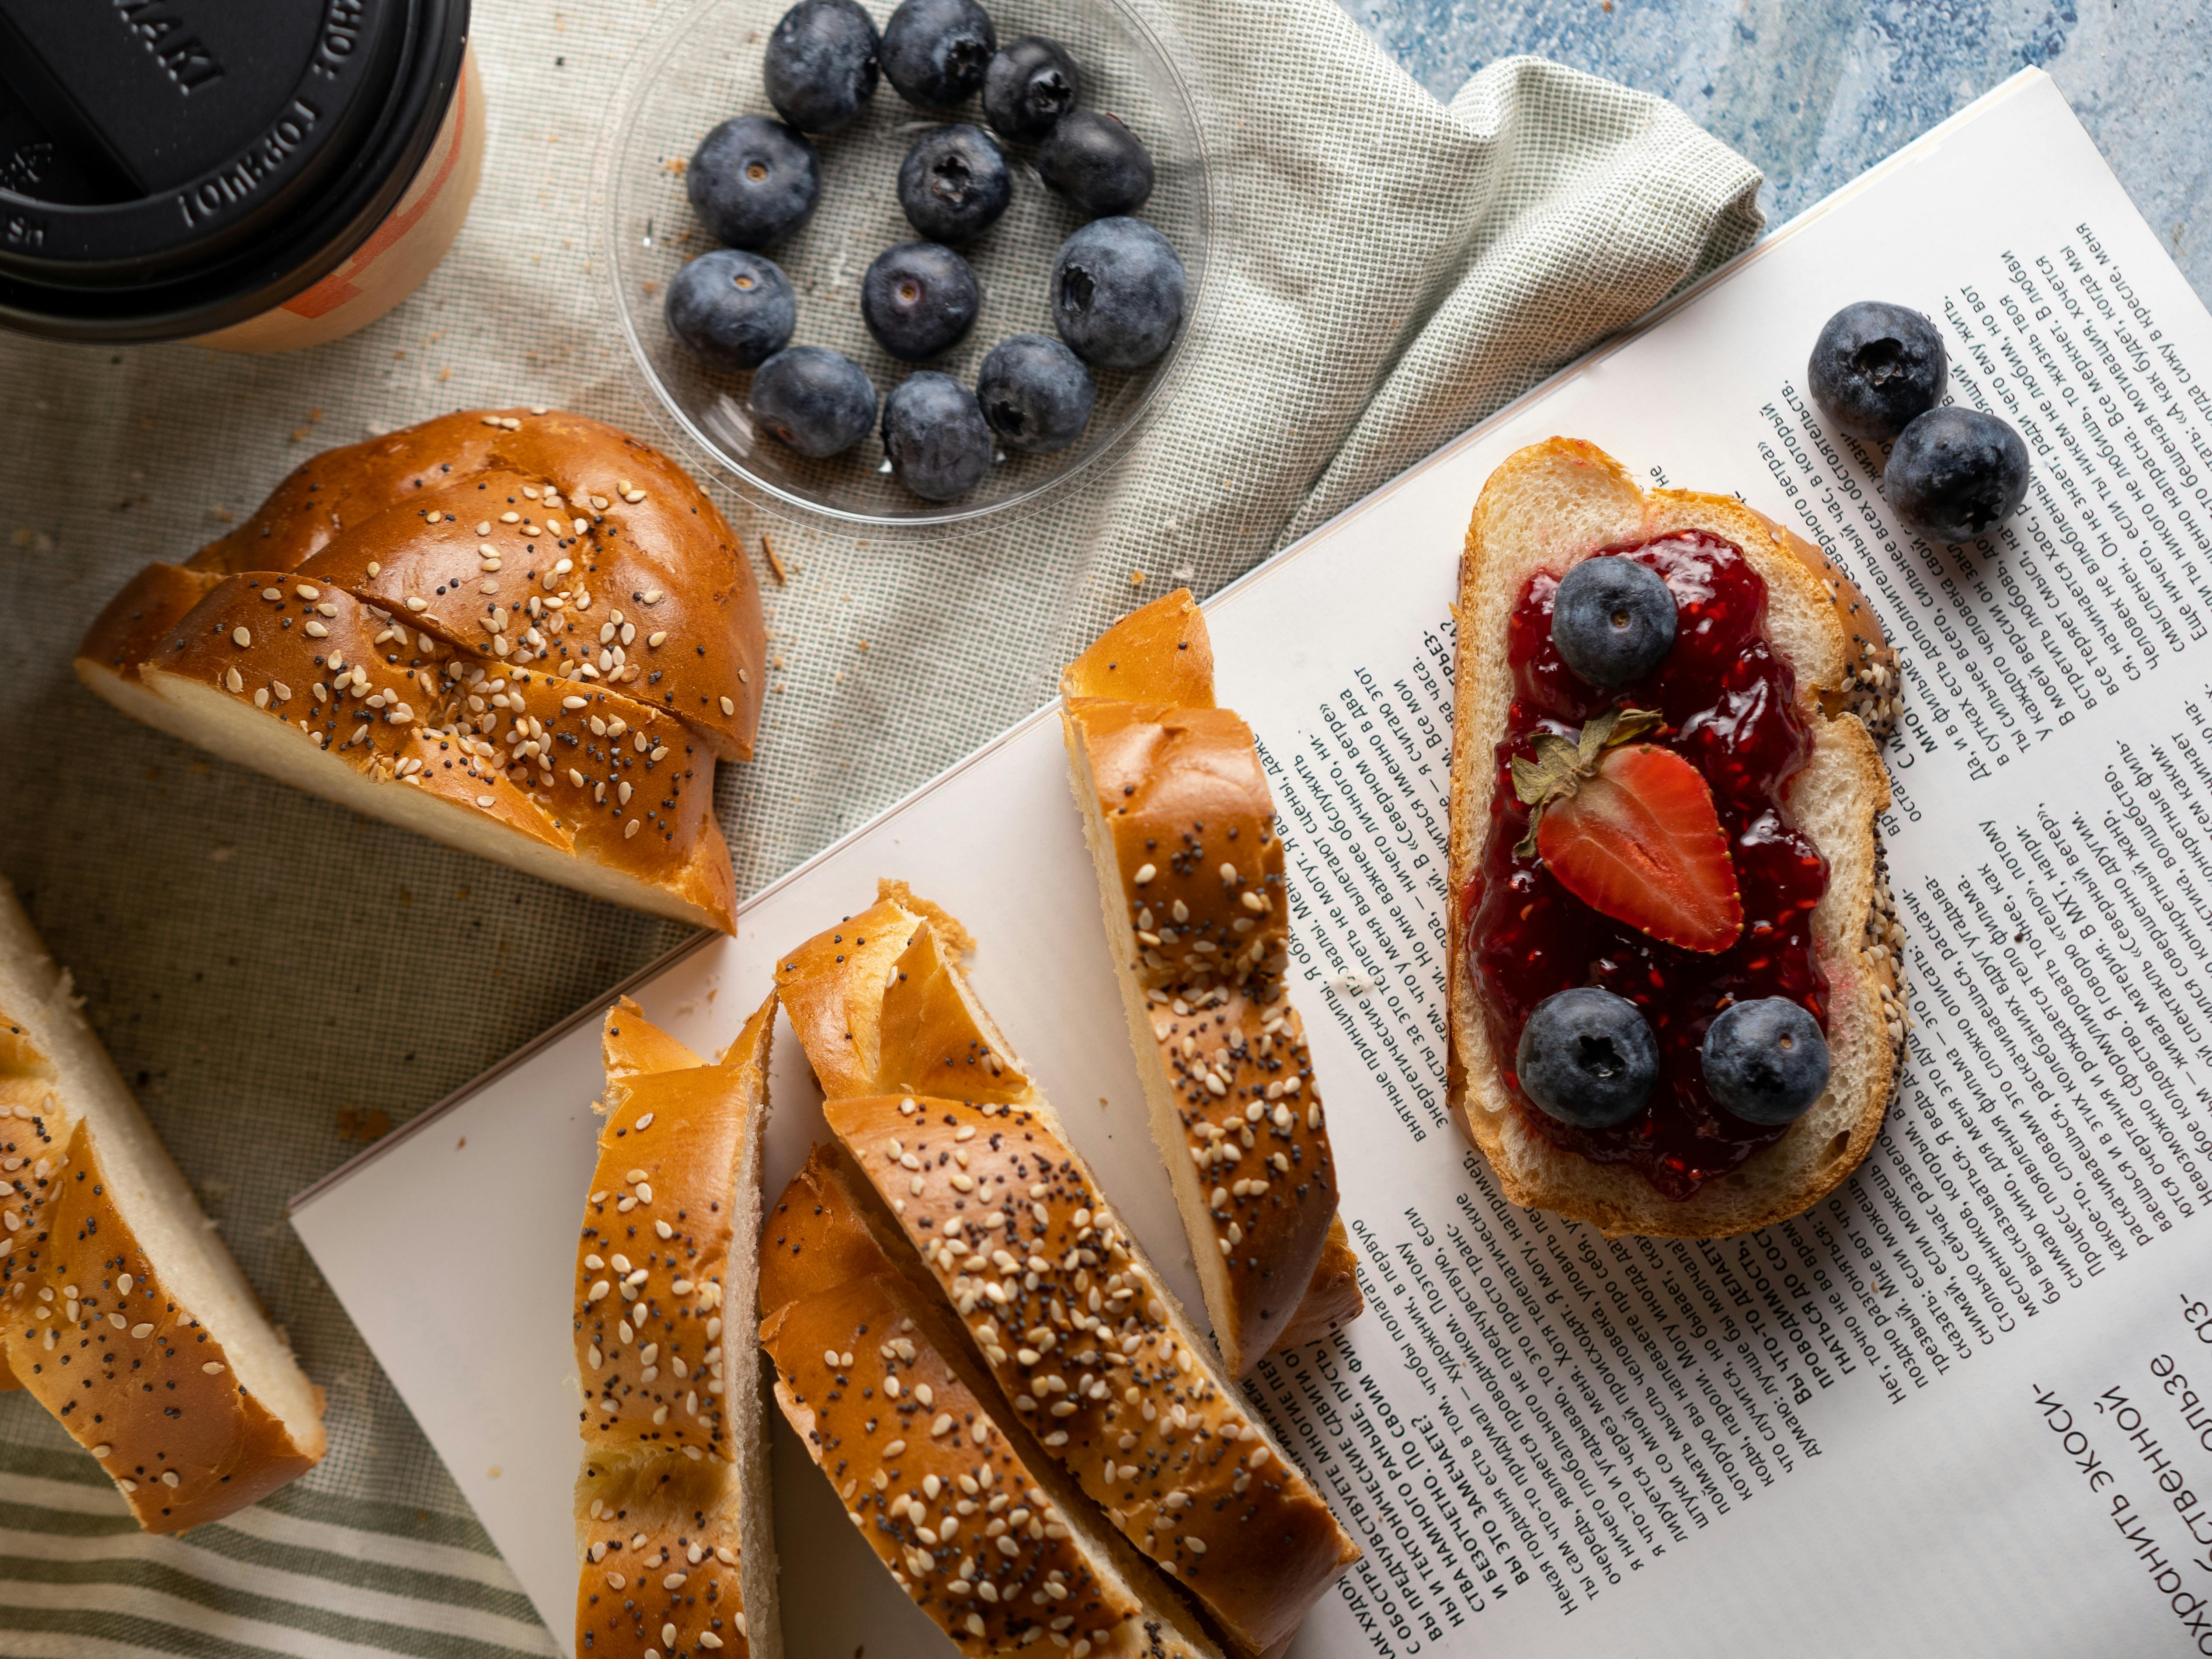
Not only is strawberry jam delightful on toast, but it can also be incorporated into various recipes. Use it as a filling for pastries, a topping for yogurt, or even as a sweet marinade for chicken or pork dishes. The versatility of homemade strawberry jam makes it a valuable addition to any kitchen, opening up a world of culinary creativity.
We encourage you to share your homemade strawberry jam journey with friends and explore different variations, share recipes, and perhaps even hold jam-making events with your community. This tradition of food preservation not only brings delicious flavors to the table but also strengthens connections with your local food producers and fellow culinary enthusiasts.
Conclusion: Making Memorable Fresh Fruit Preserves
As we close our exploration of homemade strawberry jam, remember the enjoyment that comes from creating and sharing these delicious preserves. Embrace the seasonal joys of strawberries and don’t shy away from experimenting with flavors and techniques. Making fruit spreads can become a cherished tradition, offering homemade gifts filled with love and community spirit that can be appreciated year-round.
With each jar you fill, include a piece of yourself, your family, and your favorite memories. Happy jamming!
